Schedule of Works Template: How to Phase a Renovation Properly
A schedule of works template is one of those documents that experienced builders use automatically and newer contractors discover the hard way — usually after a plastering crew turns up before the first fix electrician has finished, or after a client dispute about what was agreed to happen in week four. I've managed renovation programmes of all sizes, from single rooms to whole-house refurbs, and the biggest single predictor of whether a job runs smoothly is whether there was a clear, written schedule before the first trade stepped on site. In this article I'll explain what a schedule of works is, how to write one, the correct trade sequence, and how to use a schedule to protect yourself and manage client expectations.
What Is a Schedule of Works?
A schedule of works is a structured list of every task in a building or renovation project, broken down by trade, with durations and sequence. It tells everyone involved — the principal contractor, each trade, the client and the site manager — what's happening, in what order, and roughly when.
It serves four key purposes:
- Planning tool: forces you to think through the entire job before it starts, identify dependencies, and flag potential clashes or bottlenecks.
- Trade coordination: every subcontractor knows when they're needed, how long they have on site, and what needs to be done before they arrive.
- Client communication: clients can see what to expect week by week, which reduces the anxiety and the constant "what's happening this week?" conversations.
- Dispute protection: when programme is incorporated into the contract, deviations from it have a contractual basis for resolution rather than a he-said-she-said argument.
On any job lasting more than two weeks with more than one trade, a written schedule of works isn't optional — it's professional management.
The Correct Trade Sequence for a Renovation
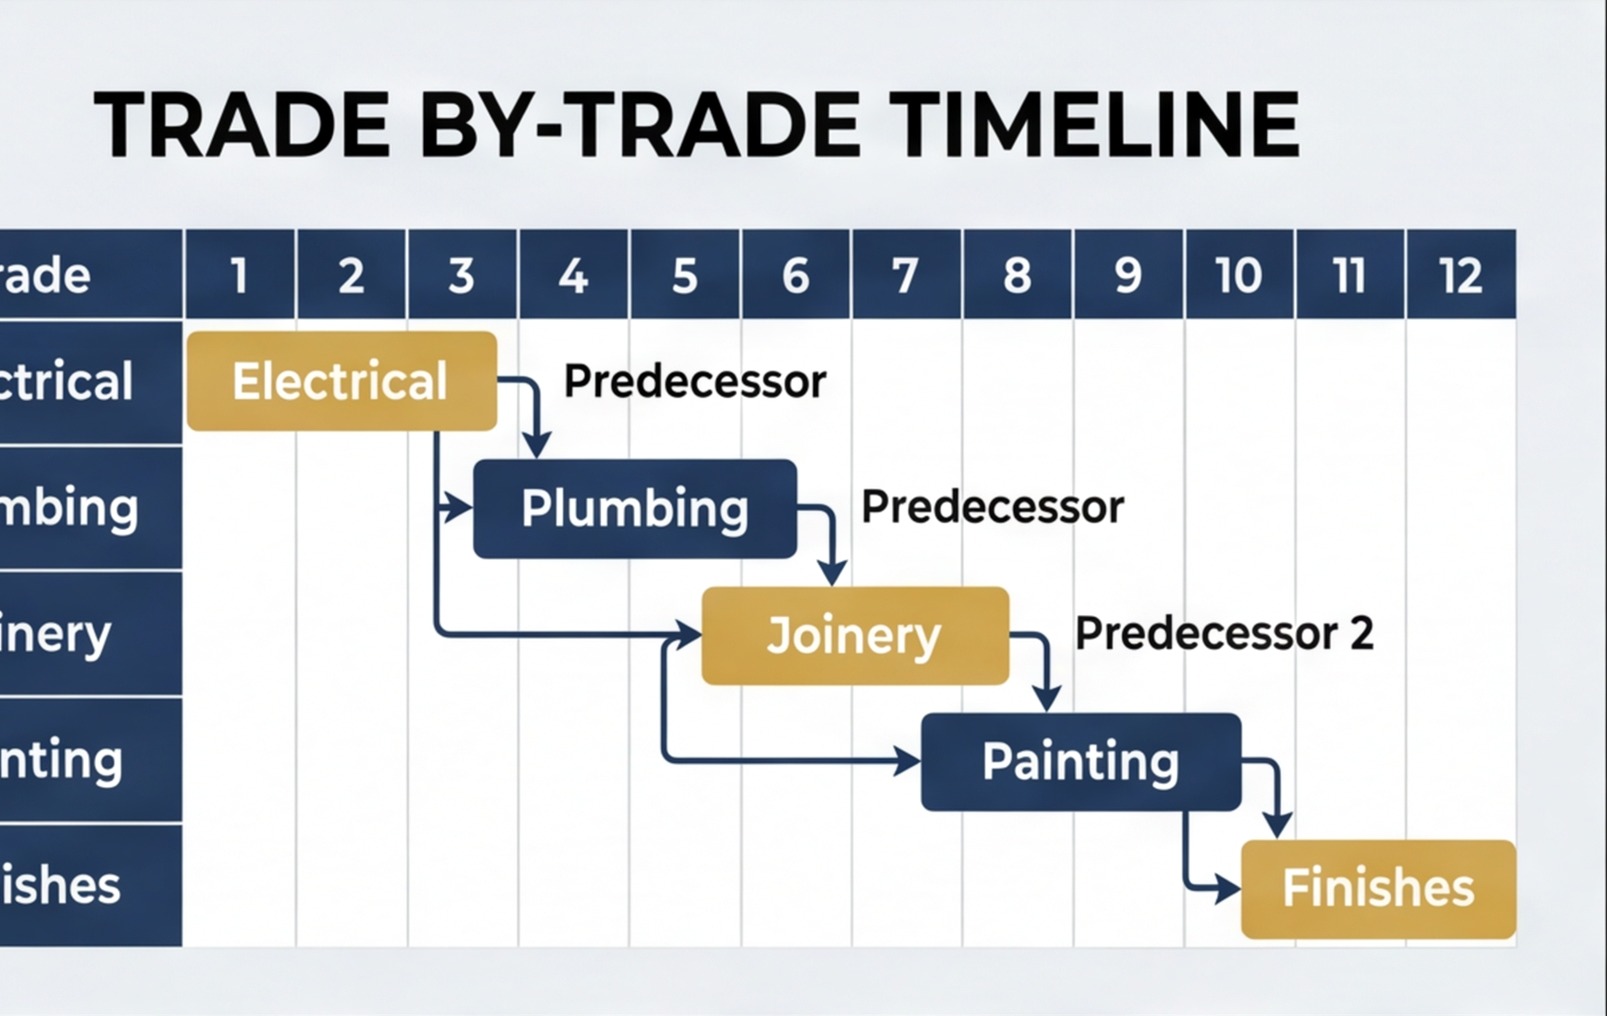
Getting the trade sequence right is the single most important part of scheduling a renovation. Get it wrong and you're paying trades to wait, ripping out work that was done in the wrong order, or watching a plasterer skim a wall that the electrician then has to chase out the following week. Here's the standard sequence for a full renovation:
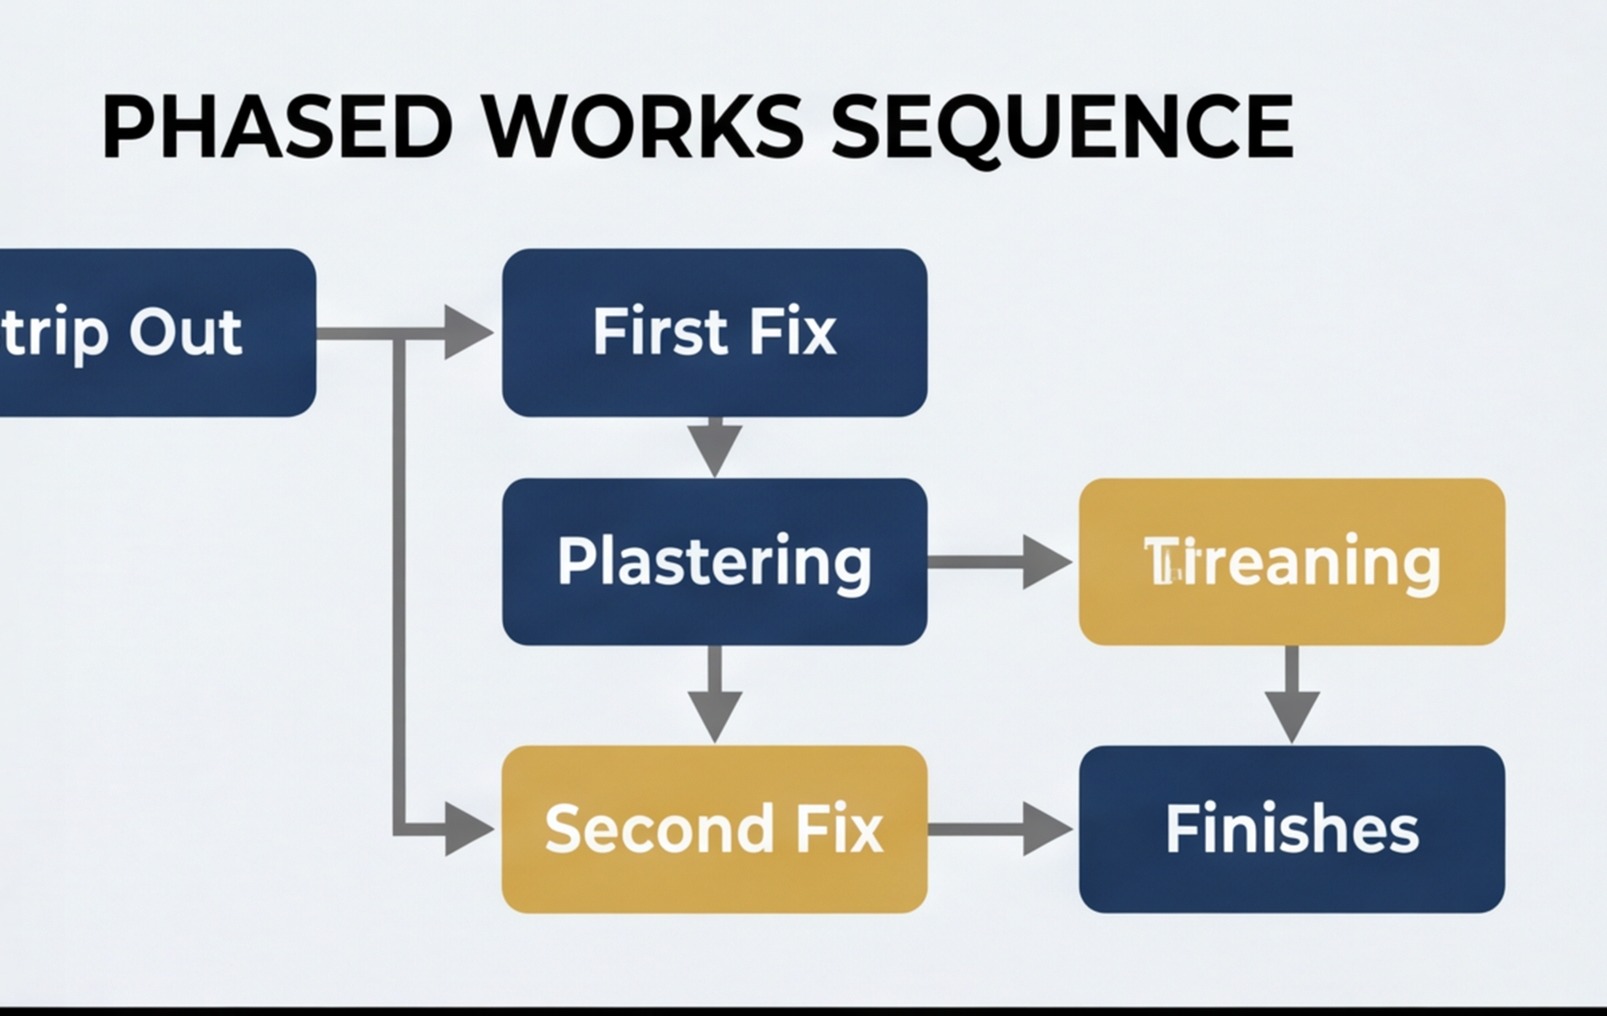
Phase 1: Preparation and Demolition
- Site set-up: welfare facilities, material storage, protection of finished areas
- Asbestos survey and removal if required (must precede any demolition work)
- Demolition and strip-out: remove old kitchen and bathrooms, take up existing flooring, strip old plaster if needed, take down redundant walls (non-structural first, structural with temporary propping)
- Skip away: clear site before structural work begins
Phase 2: Structural and Groundworks
- Structural works: RSJs installed, padstones, temporary propping removed
- Groundworks (if applicable): extension foundations, drainage connections
- Damp proof course remedial works if required
Phase 3: First Fix Services
- First fix electrics: cables run, back boxes in, consumer unit position confirmed
- First fix plumbing: pipework run to kitchen and bathroom positions, soil stack alterations if needed
- First fix heating: pipework run, radiator positions confirmed
- Mechanical ventilation first fix if applicable
All three service trades can run in parallel if there are enough workers and the site is large enough to accommodate them without clashing. On a single room, run them sequentially.
Phase 4: Structural Joinery and Stud Walls
- Stud partition walls erected
- Staircase alterations if applicable
- Window and external door replacements
- Roof structure if extension is being built
Phase 5: Insulation
- Insulation to walls, floor and roof where required
- Building Control inspection at this stage if applicable
Phase 6: Plastering
- Plasterboarding and skimming of all walls and ceilings
- Allow drying time before second fix begins — typically one to two weeks for a full house plaster in a heated property
Phase 7: Second Fix Services
- Second fix electrics: sockets, switches, light fittings
- Second fix plumbing: sanitary ware, taps, shower fittings
- Boiler and heating system commissioning
Phase 8: Kitchen and Bathroom Fitting
- Kitchen units, worktops and appliances fitted
- Bathroom tiles, suite and fittings
- These two can run in parallel if separate teams are available
Phase 9: Second Fix Joinery
- Internal doors hung
- Skirting boards and architrave fitted
- Stair balustrading if applicable
Phase 10: Decoration
- Full repaint throughout
- Decoration should follow joinery — skirting and doors should be in before the decorator starts
Phase 11: Flooring
- Flooring laid last — after decoration is complete
- Carpet after flooring if applicable
Phase 12: Snagging and Completion
- Walk through with client to identify snagging items
- Snagging completed
- Building Control completion certificate obtained
- Site handed over
Managing Dependencies and Float
A dependency is a constraint — Task B cannot start until Task A is complete. In renovation scheduling, the most common critical dependencies are:
- Plastering cannot begin until first fix services are signed off
- Second fix cannot begin until plaster is dry (typically 7–14 days depending on drying conditions and ventilation)
- Flooring cannot go down until decoration is complete and dry
- Kitchen fitting cannot begin until second fix plumbing and electrics are ready at the kitchen positions
- Materials with long lead times — kitchens are typically 6–12 weeks from order to delivery, bespoke windows 4–8 weeks, specialist tiles 3–6 weeks
Float is the spare time built into the programme — the cushion between when a task finishes and when the next task must start. Float is not slack — it's deliberate management. Every programme should have float built in for:
- Weather delays (particularly for external works)
- Trade unavailability
- Client decision delays (choosing tiles, confirming appliances)
- Material delays
- Unforeseen site conditions
I typically build 10–15% programme float on a whole-house renovation. On a job lasting twelve weeks, that's one to two weeks of buffer. Without it, the first problem derails the entire schedule and the client sees the programme fail.
Client Clarity and Dispute Prevention

Most client disputes on renovation projects come from one of three sources: cost disagreements, quality disagreements, and programme disagreements. A good schedule of works directly prevents the third and reduces the first two by creating a clear reference point for what was agreed.
When I hand a schedule of works to a client at the start of a project, I walk through it with them and explain three things:
- What the schedule covers: every phase, what's included, what's excluded. If something isn't on the schedule, it wasn't priced and won't happen without a variation.
- What the client's obligations are: decisions that need making before specific phases begin (tile selection before tiling phase, kitchen selection before kitchen-fit phase), access requirements, payment milestones tied to programme phases.
- What happens when the programme slips: the contingency float, what events extend the programme legitimately, and how variations will be handled if scope changes mid-project.

The schedule should also be incorporated into the building contract. If you're using the domestic building contract template we reference elsewhere, attach the schedule as a contract appendix and reference it in the contract terms. That way, if a dispute arises over whether the job was completed on time, both parties are arguing from the same written reference rather than from different memories.
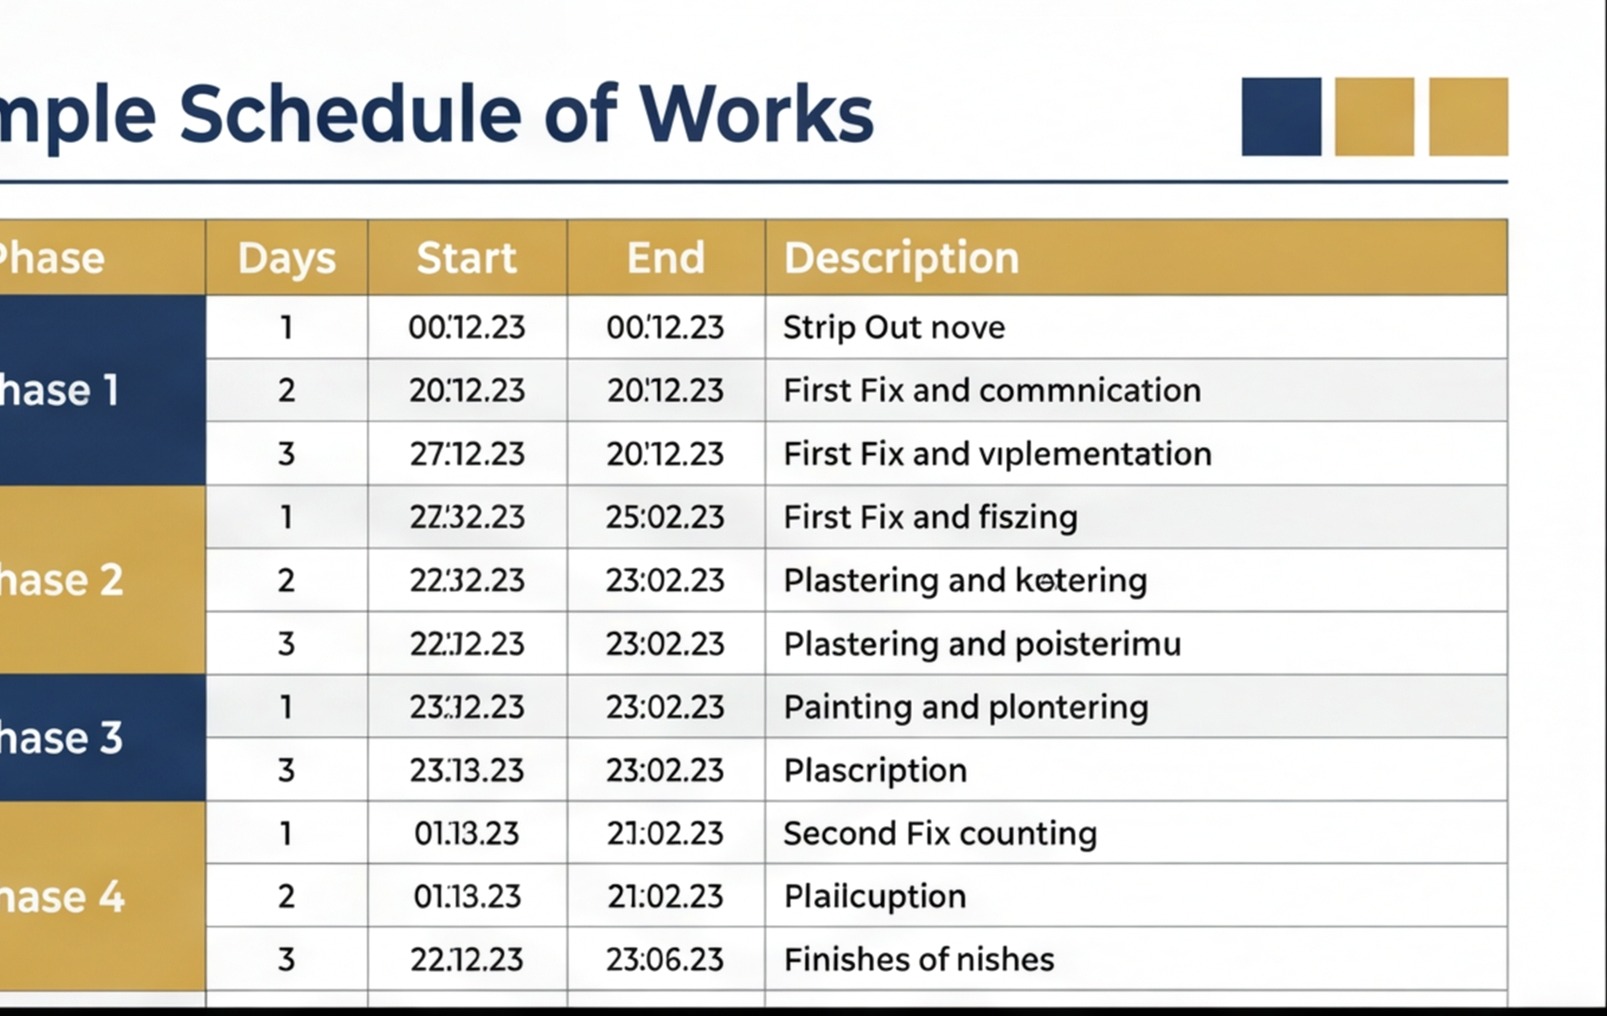
Example Schedule of Works: Three-Bed Semi Refurb
Here's an example schedule for a mid-range whole-house refurb on a three-bed semi, from strip-out to handover. Durations are approximate based on a standard property at mid-range spec with subcontractors readily available:
| Phase | Trade / Activity | Duration | Depends On |
|---|---|---|---|
| 1 | Site set-up and protection | 1 day | Access confirmed |
| 2 | Strip-out and demolition | 3–5 days | Phase 1 |
| 3 | Structural works (RSJ, etc.) | 2–3 days | Phase 2 complete |
| 4 | First fix electrics | 3–5 days | Phase 3 |
| 4 | First fix plumbing & heating | 3–5 days | Phase 3 (parallel with electrics) |
| 5 | Stud walls and insulation | 2–4 days | First fix services complete |
| 6 | Plastering (full property) | 5–7 days | Phase 5 |
| 6a | Plaster drying time | 7–14 days | Plastering complete |
| 7 | Second fix electrics | 2–3 days | Plaster dry |
| 7 | Boiler and heating commissioning | 2–3 days | Plaster dry (parallel) |
| 8 | Kitchen fit | 3–5 days | Second fix services, kitchen delivered |
| 8 | Bathroom fit | 2–4 days | Second fix services (parallel with kitchen) |
| 9 | Internal doors and joinery | 2–3 days | Phase 8 |
| 10 | Decoration (full property) | 5–8 days | Phase 9 |
| 11 | Flooring | 2–3 days | Decoration dry |
| 12 | Snagging and handover | 1–2 days | Phase 11 |
| Total programme | 8–12 weeks | Including float |

Common Scheduling Mistakes
After years of running renovation projects, here are the scheduling mistakes I see most often — and how to avoid them:
1. Not accounting for material lead times
A kitchen on a 10-week lead time can't be fitted in week 6 if it was ordered in week 4. Order all long-lead materials before the job starts. For a full refurb, the kitchen, windows and any bespoke joinery should be ordered before the strip-out begins.
2. Ignoring drying times
Plaster drying is the most commonly skipped constraint. Fresh plaster is wet — laying flooring on it, painting over it or fixing joinery against it causes problems. Two weeks minimum drying time for a full house re-skim in a heated, ventilated property. Rushing this causes adhesion failures in flooring, paint issues and swelling in joinery.
3. Not confirming trade availability before booking
The schedule says the tiler starts on Monday. You haven't actually confirmed Monday with the tiler since you booked them six weeks ago. They've taken another job. Now you have a bathroom with no tiles and a decorator starting in a week. Confirm trade start dates one week out and again 48 hours before. Don't assume.
4. No client decision points in the schedule
A client who hasn't chosen their tiles by the time the tiler arrives isn't just a mild inconvenience — they can halt an entire trade sequence. Put client decision deadlines explicitly in the schedule and make them a contractual obligation. Tile selection confirmed by Week 3. Kitchen selection confirmed and ordered by Week 1. No decision, no responsibility for programme delay.
5. No float
A schedule with zero contingency assumes nothing will go wrong. Something will always go wrong. Trade availability, material delays, unforeseen site conditions, client changes of mind. Ten to fifteen percent programme float is not pessimism — it's reality. A schedule that arrives on time despite having used its float is a well-run project. A schedule with no float that hits its first problem is a failed programme before you're halfway through.
Want your quote and project scope to drive your schedule automatically? Use RenoCalc to generate a trade-by-trade quote from your floor plan — then use the trade sequence from your quote to structure your schedule of works. Both documents are built from the same underlying project data.

For more on producing the supporting documents that sit alongside your schedule, see the method statement template guide — the trade sequence in your schedule feeds directly into your RAMS documentation. And if you're still working on getting the cost right before you write the programme, the full house refurbishment cost guide gives you the trade-by-trade pricing framework to work from.
Frequently Asked Questions
What is a schedule of works?
A schedule of works is a document that sets out all the tasks involved in a building or renovation project, broken down by trade, phase and sequence, with approximate durations and start dates. It serves several purposes: it helps the builder plan the programme and coordinate trades; it gives the client a clear picture of what will happen and when; it forms part of the contractual documentation that defines the scope of the project; and it provides a reference point for managing progress and disputes. On any renovation lasting more than two or three weeks, a schedule of works is essential.
What is the correct order of trades in a renovation?
The standard trade sequence runs broadly as follows: structural and demolition work first, then groundworks if applicable, then first fix services (electrics, plumbing, heating), then structural joinery and stud walls, then insulation, then plastering, then second fix services, then kitchen and bathroom fitting, then flooring, then decoration, then snagging. Each trade has dependencies on the previous trades completing their work. Plastering can't begin until first fix is done. Flooring can't be laid until plastering and decoration are complete. Sequencing correctly avoids rework and the disputes that follow it.
How do I write a schedule of works?
Start by listing every item of work in the project. Group by trade. Then order by dependency — identify which tasks must complete before others can start. Assign realistic durations based on the quantities involved. Identify which trades can run in parallel and which are sequential. Assign start dates working from your planned start date. Build in lead times for materials on long delivery (kitchens, windows, bespoke joinery). Build in a contingency float of 10–15% on overall programme duration. Review with each trade before they start. Update the schedule as the project progresses.
Does a schedule of works form part of the contract?
It can and often should. On a well-documented renovation project, the schedule of works is incorporated into the building contract as a contract document, alongside the specification and the quote. This means the agreed programme is contractually binding. If the builder runs significantly behind programme without good reason, the client has a contractual basis for claiming delay. Equally, if the client causes delays, the builder has a contractual basis for extending the programme and claiming additional costs. Without a written schedule, both sides are arguing from memory about what was agreed.
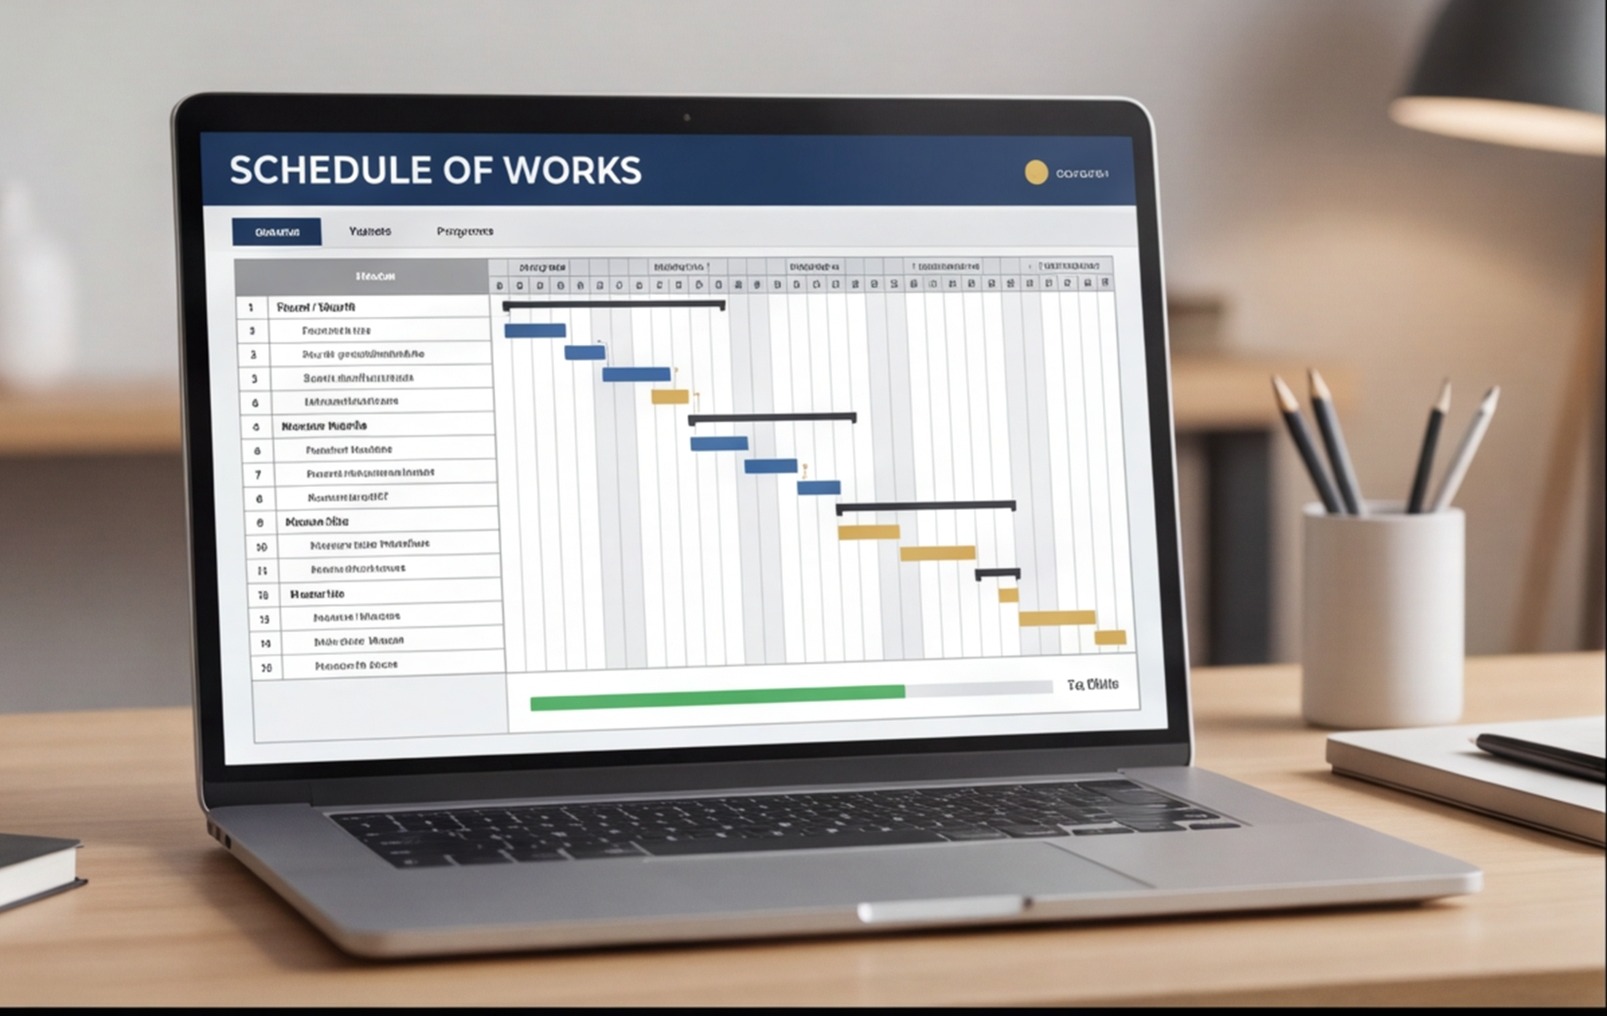
What is the difference between a schedule of works and a programme?
A schedule of works is a list of the tasks to be done, usually in table format, showing each item, trade, duration and sequence. A programme — often a Gantt chart — is a visual representation of when each task happens over the project timeline. Both contain the same information but present it differently. For smaller domestic projects, a schedule of works in table format is usually sufficient. For larger projects with many parallel activities and dependencies, a Gantt chart programme is more useful for identifying the critical path and managing concurrent trades. Some builders provide both.
What should I include in a schedule of works for a full house renovation?
For a full house renovation, the schedule should include: preliminary works (welfare, protection, hoardings); demolition and strip-out; structural works; groundworks (if any); drainage (if any); first fix plumbing and electrics; stud partitions and joinery first fix; insulation; plastering; second fix plumbing and electrics; kitchen fitting; bathroom fitting; internal joinery second fix; decoration; flooring; external works; and snagging. Each item should have a duration and start date, and dependencies between items should be identified. Materials with long lead times should be flagged separately.

Build Your Schedule from a Proper Quote
A schedule of works is only as good as the scope it's based on. Upload your floor plan to RenoCalc and get a trade-by-trade project breakdown in under three minutes — the right foundation for a schedule that actually works.
Generate My Project Scope